
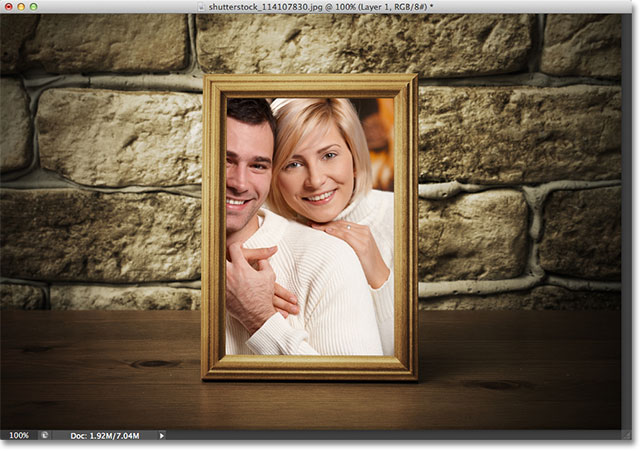
Let’s look at a common situation where a clipping mask would be used. Here’s another document, this one containing two photos. The image on the bottom Background layer is of a photo frame (old photo frame from Shutterstock):

A photo of an old wooden frame.
And if I turn on the layer above it by clicking its visibility icon:
Clicking the visibility icon for Layer 1.
We see the photo I want to place inside the frame (young couple photo from Shutterstock):
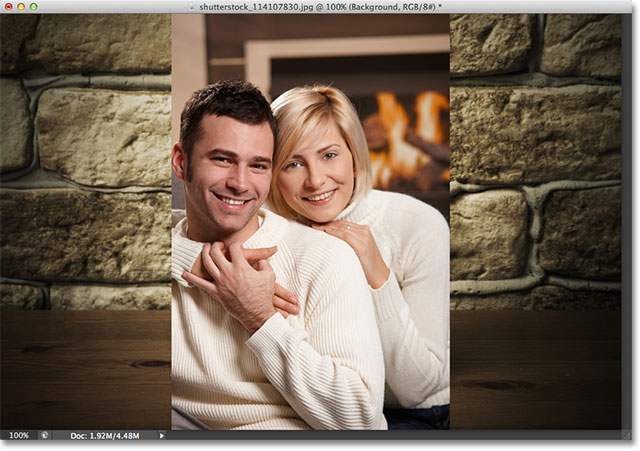
The photo that will be going inside the frame.
I’m going to turn the top layer back off for the moment by clicking again on its visibility icon:
Turning the top layer back off.
To place the photo of the couple inside the frame using a clipping mask, I first need to select the area inside the frame. In this case, since the area inside the frame is solid black, I can easily select it with the Magic Wand Toolwhich I’ll grab from the Tools panel. To get to it, I’ll need to click and hold on the Quick Selection Tool until the fly-out menu appears and then select the Magic Wand Tool from the menu:
The Magic Wand Tool is nested in with the Quick Selection Tool.
With the photo frame layer active in the Layers panel, I’ll click inside the frame with the Magic Wand Tool to instantly select all of that black area:

Clicking on the area inside the frame with the Magic Wand Tool to select it.
Next, I need to copy the selected area to its own layer. To do that, I’ll go up to the Layer menu at the top of the screen, then I’ll choose New, and then Layer via Copy (or I could simply press Ctrl+J (Win) / Command+J (Mac) on my keyboard for the much faster shortcut):
Going to Layer > New > Layer via Copy.
Nothing will seem to have happened in the document window, but if we look in the Layers panel, we see that the area inside the frame has been copied to its own layer above the original image. Notice in the layer’s preview thumbnail that only the area inside the frame has been copied, which means it’s the only part of the layer with actual content on it. The rest of the layer surrounding it is transparent:
The area inside the frame has been copied to a new layer.
I’ll turn the top layer back on by clicking its visibility icon, then I’ll click on the layer itself to select it and make it active so we can add our clipping mask. As we learned earlier, we always want to select the layer that’s going to be clipped to the layer below it:

Selecting and turning on Layer 1.
Let’s go ahead and create our clipping mask. This time, instead of choosing the Create Clipping Mask command from under the Layer menu, we’ll use a much faster and more common way, and that’s by creating it directly from within the Layers panel.
All we need to do is press and hold the Alt (Win) / Option (Mac) key on the keyboard and hover our mouse cursor directly over the horizontal dividing line between the two layers we want to use with our clipping mask. When you see your mouse cursor change into the clipping mask icon, just click with your mouse:
Click between the two layers when your mouse cursor changes to the clipping mask icon.
The layer above will instantly be clipped to the layer below, with the Layers panel showing the top layer indented to the right:
Layer 1 is now clipped to Layer 2 below it.
And in the document window, we see that the photo on Layer 1 now appears only inside the area of the frame we selected and copied to its own layer. The rest of the photo has been hidden from view because it sits over top of transparency on the clipping mask layer below it:
The photo is now clipped inside the frame thanks to the clipping mask.
We saw earlier that we can use Photoshop’s Move Tool to move and reposition images around inside their clipping mask. We can also use the Free Transform command not only to move images inside clipping masks but also to resize them as needed. In my case here, I need to make the photo smaller so it fits more naturally inside the frame, so after making sure I have the photo’s layer selected in the Layers panel, I’ll quickly go up to the Edit menu at the top of the screen and choose Free Transform:
Going to Edit > Free Transform.
This brings up the Free Transform box and handles around the photo. You’ll notice when resizing images inside clipping masks that even though you can only see the area that fits inside the clipping mask shape, the Free Transform box and handles will appear around the actual dimensions of the image which includes the area currently hidden from view. Simply click and drag any of the corner handles to resize the image as needed. Hold down your Shift key as you drag the handles to constrain the aspect ratio of the image so you don’t accidentally distort the overall shape of it. When you’re done, press Enter (Win) / Return (Mac) to accept the transformation and exit out of the Free Transform command:
Resizing the photo inside the clipping mask shape with Free Transform.
There’s just one more finishing touch needed to make things look more realistic, and that’s to add a bit of a shadow around the inner edges of the frame, which brings us to yet another thing we can do with clipping masks – addlayer styles to them!
I need to add the shadow directly to the clipping mask layer itself, so I’ll click on Layer 2 in the Layers panel to select it:
Making the clipping mask layer the active layer.
With the clipping mask layer selected, I’ll click on the Layer Styles icon at the bottom of the Layers panel:
Clicking the Layer Styles icon.
Then I’ll choose Inner Glow from the list of layer styles that appears:
Choosing an Inner Glow layer style.
This opens Photoshop’s Layer Style dialog box set to the Inner Glow options in the middle column. I first need to change the color of the glow (since I actually want a shadow effect, not a glow effect), so I’ll click on the color swatch:
Clicking the color swatch.
This will open the Color Picker. I’ll choose black form the Color Picker, then I’ll click OK to close out of it:
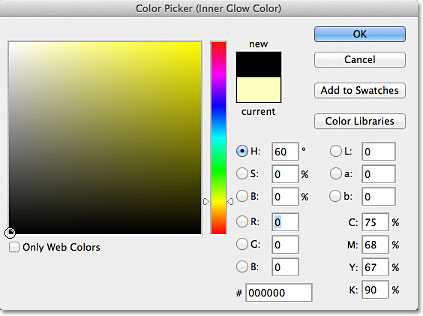
Choosing black from the Color Picker.
Back in the Layer Style dialog box, I’ll change the Blend Mode of the Inner Glow from Screen to Multiply, then I’ll lower the Opacity down to 25% and I’ll increase the Size of the glow (shadow) to 10px:
The rest of the Inner Glow settings.
I’ll click OK to close out of the Layer Style dialog box, and with that, we’re done! If we take one final look in the Layers panel, we can see the newly added Inner Glow style that’s been added to the clipping mask layer (Layer 2):
Any layer styles we’ve added appear below the layer in the Layers panel.
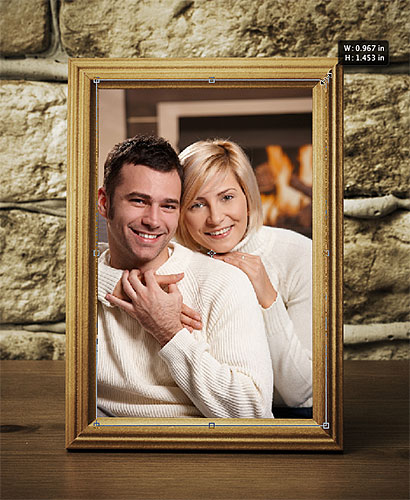
And here, thanks to the ease and flexibility of clipping masks, is my final result:

The final result.
And there we have it! That’s the basics and essentials of working with clipping masks in Photoshop!
Source : http://www.photoshopessentials.com
0 komentar:
Post a Comment